Building an L-shaped desk from scratch is a great way to customize your workspace and create a sense of accomplishment. With the right materials, tools, and instructions, you can create the perfect desk to fit your needs. In this article, we will discuss the steps involved in constructing an L-shaped desk from scratch.
Gathering Your Materials
Before you can begin building your L-shaped desk from scratch, you will need to gather all the necessary materials. The most common materials used to construct an L-shaped desk are wood, screws, nails, and glue. Additionally, you may need to purchase special tools, such as saws, drills, sanders, and clamps. Make sure you have all the materials and tools you require before beginning your project.
Designing Your Desk
Once you have all the necessary materials, you can begin designing your desk. Think about the size and shape of the desk you need, as well as any storage or organizational features you would like to include. Once you have a rough idea of what you want, draw out a plan for your desk and decide on the exact measurements and materials you need.
Cutting and Assembling the Pieces
Using the plan you have designed, begin cutting the pieces of your desk to the precise measurements you need. Depending on the complexity of your design, you may need to use a saw or other cutting tools. Once the pieces are cut, use screws, nails, and glue to assemble them into the desired shape. Make sure to measure and fit the pieces together as accurately as possible.
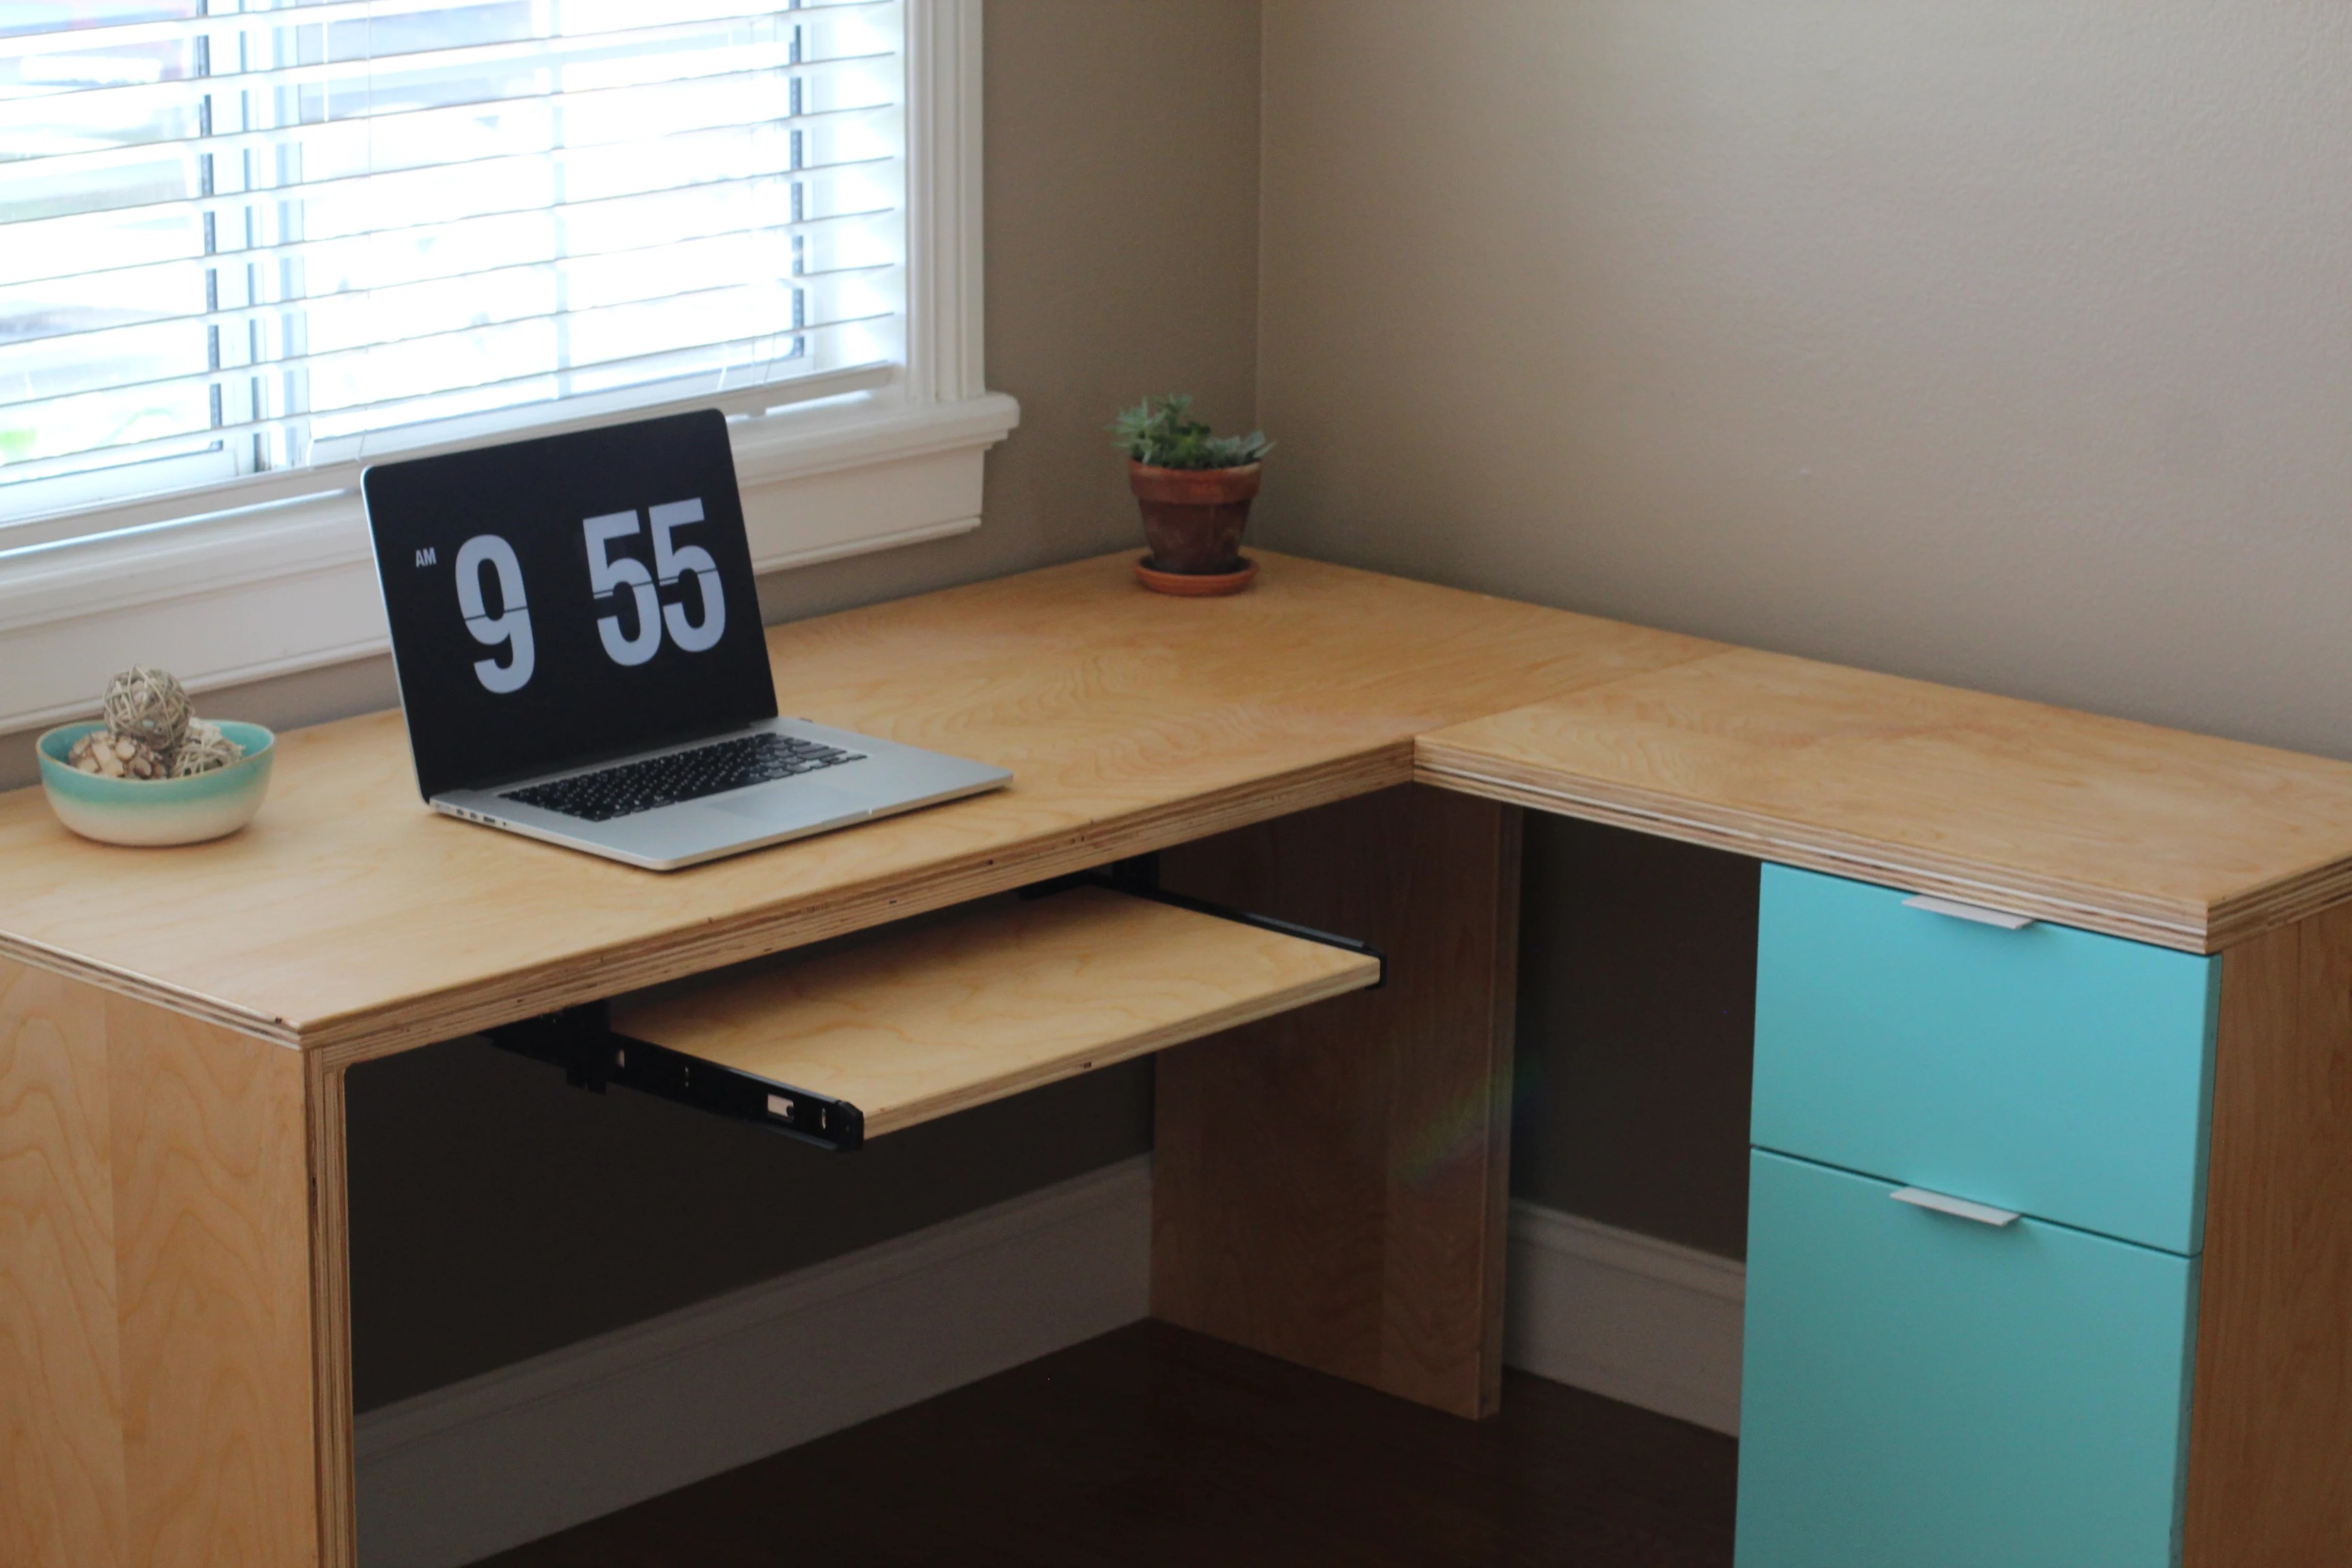
Finishing Touches
Once the desk is assembled, you can give it the finishing touches. Sand down any rough edges and fill any gaps with wood filler. You may also choose to stain, paint, or varnish the desk to give it a unique look. Finally, add any additional features, such as shelves, drawers, or storage compartments.
Enjoy Your Finished Desk
Once you have completed all the steps, you can enjoy your finished L-shaped desk from scratch. You can be proud of the fact that you created something unique and customized to your needs. With a little effort and creativity, you can create a workspace that encourages productivity and helps you stay organized.

![15+ DIY L Shaped Desk For Your Home Office [corner desk]](https://i2.wp.com/simplyfutbol.com/wp-content/uploads/2018/02/word-image-64.jpeg)


![Desk plans [125] Diy corner desk, Computer desk plans, Woodworking desk plans](https://i.pinimg.com/originals/51/69/32/5169320b821e9b05868c27cdca8b9740.jpg)


Related Posts


